How To Install a Ceiling Fan
When things get hot and muggy outside in Southwest Florida, it's important to stay cool inside your home.
Even when you have a good HVAC system for your home, sometimes it's necessary to create a little extra air circulation in the rooms where you spend the most time. That's why many homeowners install a ceiling fan to help their families stay comfortable during the heat of summer.
Fortunately, installing a ceiling fan is a pretty simple DIY task that almost anyone can complete with a few basic instructions. Here we take a look at how to install a ceiling fan in a few easy steps. Keep reading to learn more.
Measure the Room
It's important to understand that not all ceiling fans are right for every room. Proper ceiling fan installation requires finding a fan with the right dimensions and that will work with the existing wiring.
You can always update the wiring as needed, but that will probably require the help of a trained electrician. But the size of the fan is important for making sure you get enough air circulation without overwhelming the room.
The Tools You'll Need
You'll need a few basic tools to install a ceiling fan. This includes a Phillips head screwdriver, players, and a wire stripper.
Shut Off Power at the Breaker Box
Safety should always be your top priority. So even though you should be fine turning off the power at the light switch, it's always wise to shut off power to the room at the breaker box.
Remove the Existing Light Fixture
Now you're ready to remove the existing light fixture where you plan to install a ceiling fan. It's a good idea to remove the light bulbs first, then detach the fixture from the mounting place and electrical box.
Replace the Existing Electrical Box
In many situations, the existing electrical box will support the new ceiling fan. But if it won't, go ahead and remove the existing box so that you can install the new one.
Mount the Ceiling Plate
Next, mount the ceiling plate. Feed the wires from the ceiling through the hole in the plate.
Connect the Wires
You'll need to support the ceiling fan assembly while connecting the wires from the ceiling to the fan wires. This is usually the most challenging part of the process. Once the wires are connected, cap them with the plastic twist caps that come with the fan kit.
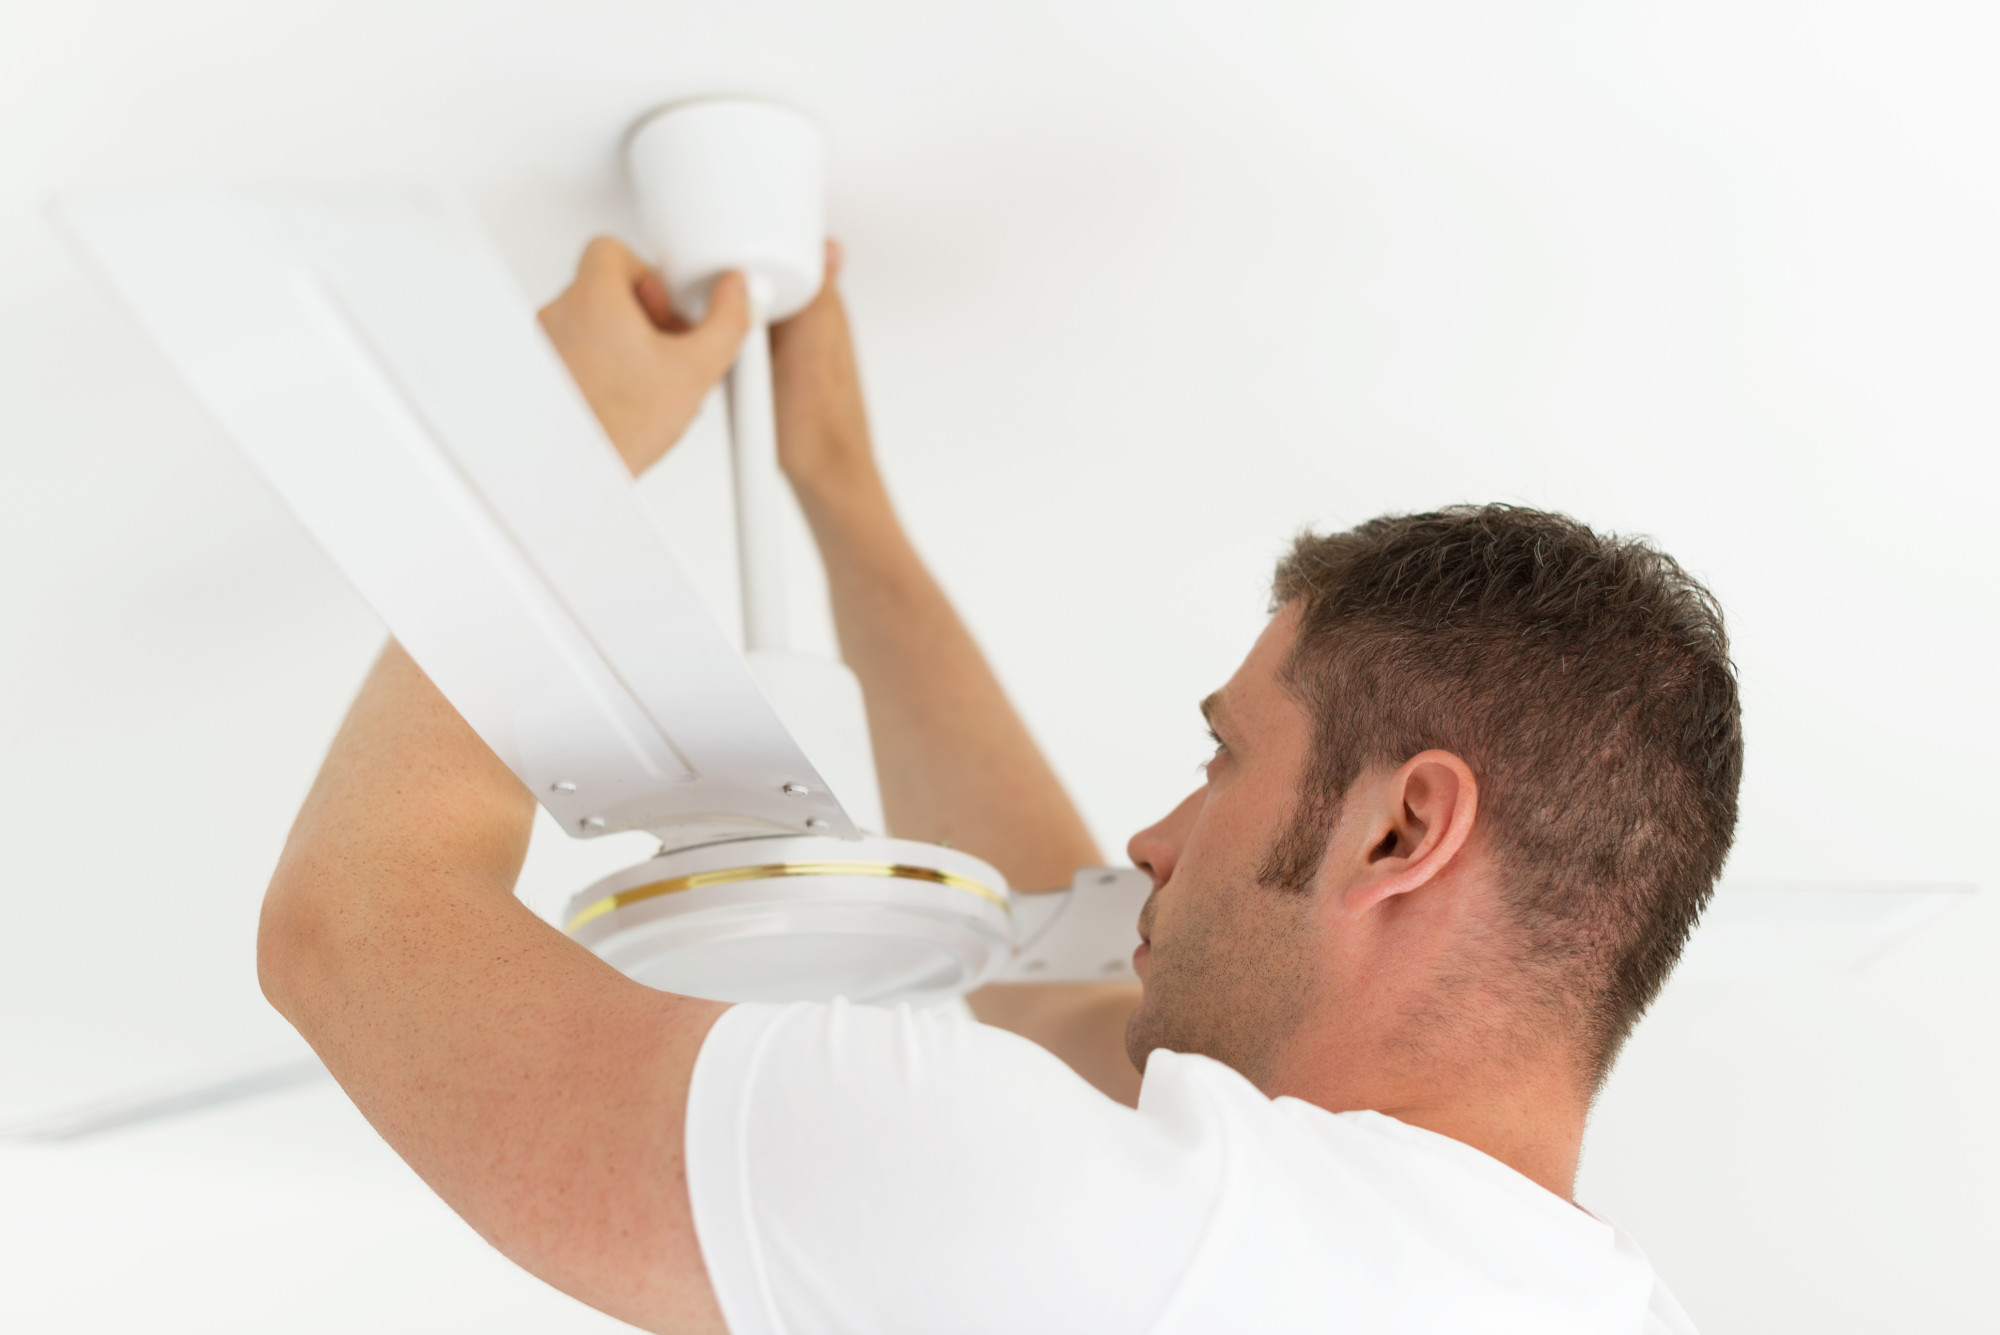
Mount the Motor to the Ceiling Plate
Now you're ready to mount the fan assembly to the ceiling plate. Typically, the assembly will easily lock into place. At this point, you're ready to attach the ceiling fan blades and then turn on the power at the breaker box.
Important Tips on How to Install a Ceiling Fan
It's no secret that heating and cooling your home is more expensive than ever. That's why it's so important to circulate the air in your home to maximize your family's quality of life. Fortunately, these tips on how to install a ceiling fan will help.
Please contact us today to schedule an appointment with one of our HVAC specialists.
Limited-time! Summer offer of $39 AC Tune Up