Ceiling Fan Installation: An Step-By-Step Guide
Did you know that air conditioning can cost $200-$4,000 to repair? And that's if your home already has an air conditioning unit. Some homes may not have ductwork, making air conditioning a challenge to install.
These homes, can, however, install ductless air conditioning units, to the tune of $1,500 to $8,500. If you're looking to stay cool during the summer months without spending a lot of money, consider ceiling fans.
A ceiling fan installation is not only cheaper by far, but it's easier and can be completed in as little as an hour, depending on your home. You can choose from a variety of styles, each one perfect for your home decor, and choose from lighted or unlighted ceiling fans.
Read on for a handy guide on ceiling fan installation and how to find the one that is perfect for you.
Picking Your Perfect Fan
Before you begin your ceiling fan installation, it's important to measure your room. Ensure the placement of your ceiling fan won't conflict with drapes or curtains.
Now comes the fun part: picking the design. Online retailers allow you to narrow down the style of ceiling fan you want, all from the comfort of your own home. Options include color, whether or not there are lights, and size.
Once you have the fan you want, it's time for the installation process.
Safety Tips
As installing a ceiling fan means working with electricity, a potentially dangerous activity. The very first step is to shut off power with the circuit breaker. This will eliminate the chance of a fatal shock and make the whole process much less stressful.
If you are still nervous about working with wiring to install a ceiling fan, then hiring a professional is a safe bet. Many local electricians provide ceiling fan installation services. They can usually offer quotes before beginning work.
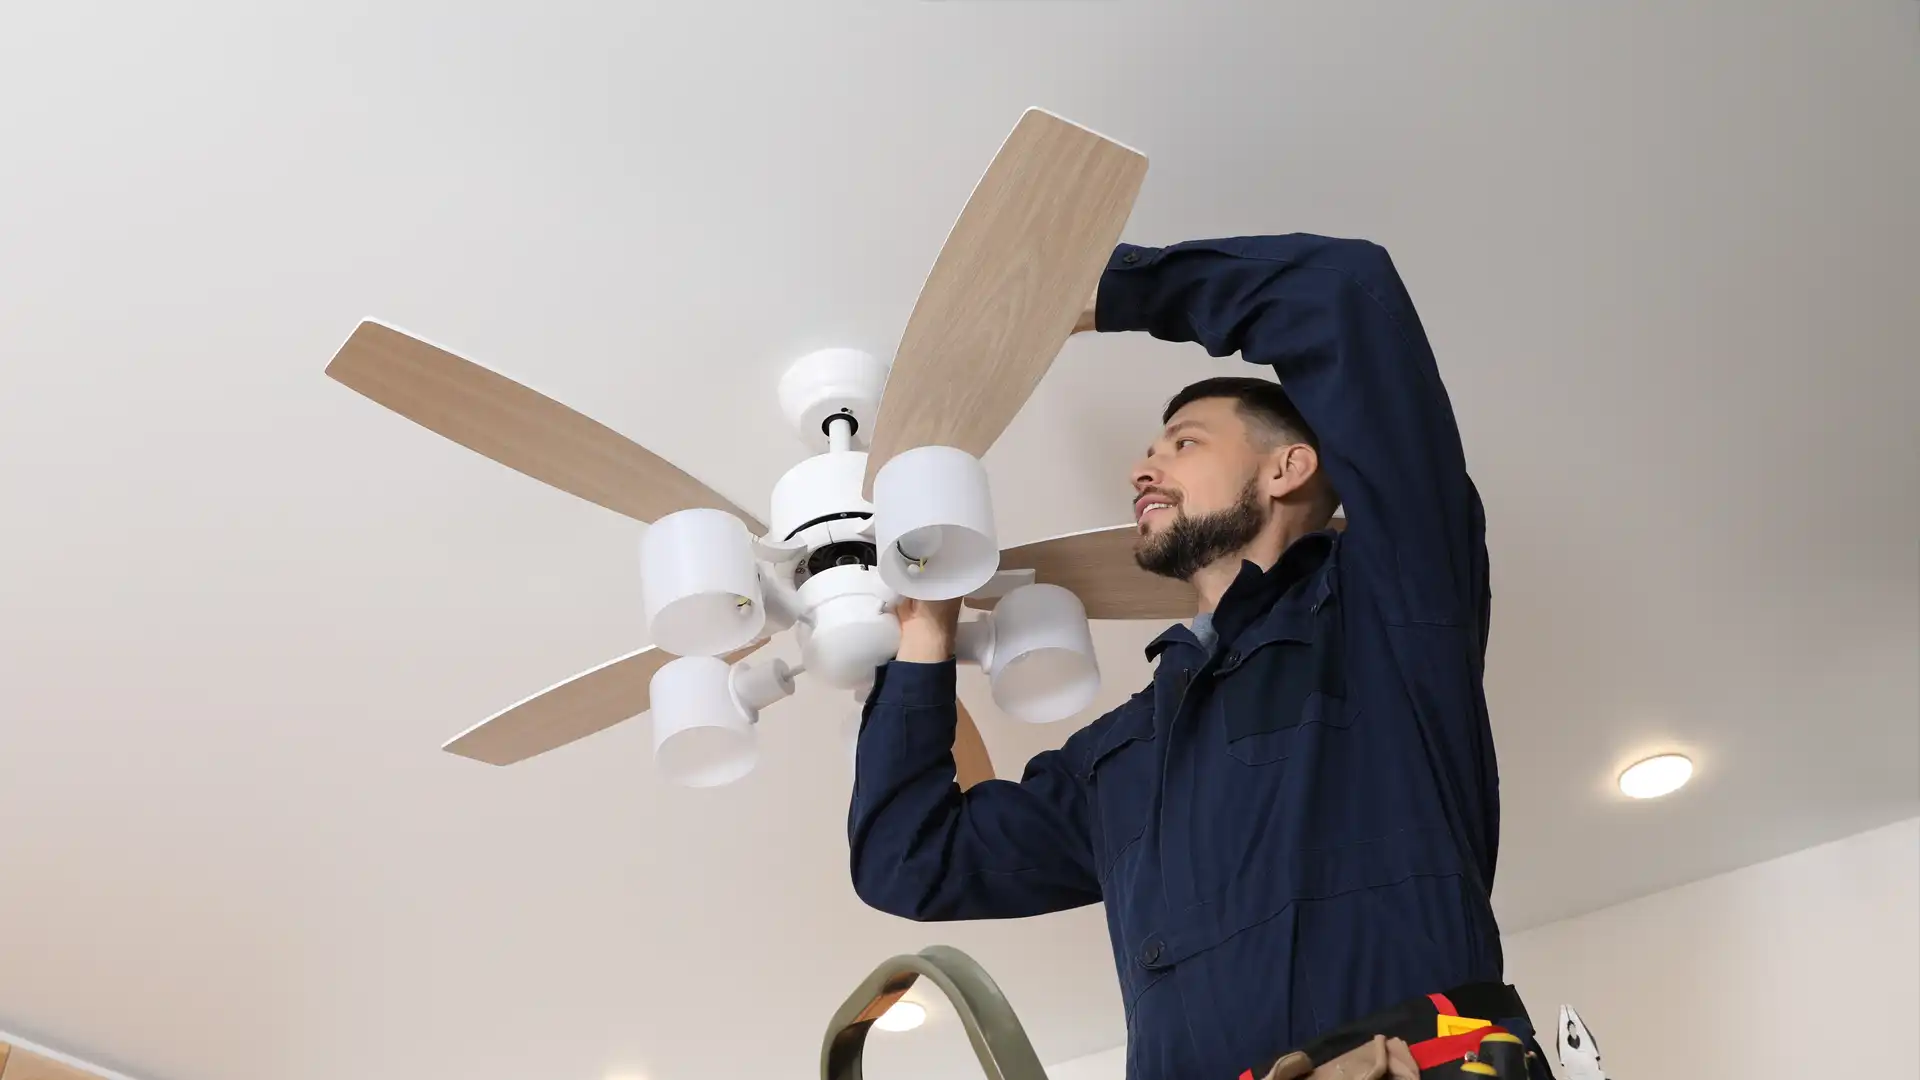
The Ceiling Fan Installation Process
If you choose to install a ceiling fan on your own and have done the necessary rewiring the first thing you need to do is to mount the junction box. This is what connects your fan to the ceiling. By tightening screws or nuts you will have a secured base in which the rest of the fan will be installed.
After the junction box is in place you will attach the mounting bracket, which generates the spin, to it. Due to its moving parts, it is important to ensure it is secure.
Next, install the down rod which connects the fan to the junction box. This hollow tube can be long or short which connects to the wiring already in the ceiling to the wires in the fan. At the bottom of this rod is the so-called "canopy" to which the fan's blades connect to.
Secure the fan blades into place and attach them to the rest of the ceiling fan. After that, you can restore power and bask in your newly cooled room!
The End Result
While ceiling fans only circulate air they encourage moving cool air up and around your body and create an effect, not unlike windchill. In hot regions, this can vastly improve a person's day and night by cooling their body.
A ceiling fan installation is not an easy process. Perhaps you want to do it yourself but have questions, or maybe you would rather someone do it for you. Whether you wish to do install one yourself and want advice or would rather someone do it for you, professional help is one click away. Contact us today!
Limited-time! Summer offer of $39 AC Tune Up